

The Injury Reporting Application by SOTI SNAP
Summary
Create an injury reporting app with SOTI Snap
Workplace injuries are common incidents which can cost both employer and employee valuable time and money. How does your organization handle injuries or incident reports? With SOTI Snap, you can simplify this process and allow you to focus on the importance – taking care of your employees and colleague when they are injured on the job.
Get the app from the SOTI Snap marketplace<
Related SOTI ONE Platform Products
Process Description
Create an injury reporting app with SOTI Snap
Workplace injuries are common incidents which can cost both employer and employee valuable time and money. How does your organization handle injuries or incident reports? With SOTI Snap, you can simplify this process and allow you to focus on the importance – taking care of your employees and colleague when they are injured on the job.
Get the app from the SOTI Snap marketplace
Step 1) Go to the SOTI Central > Navigate to Marketplace > Click Mobile Apps > Scroll to look for the injury reporter app.

Figure 1 Getting the App from SOTI Marketplace
Step 2) Click on “Use this App” > Follow the tutorial on how to install a SOTI Snap APP.
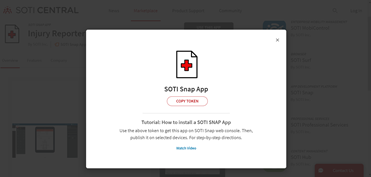
Figure 2 Copying token
Step 3) Once complete, the injury reporter will show up in your list of Apps in SOTI Snap.
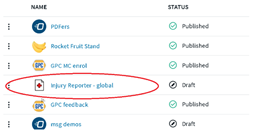
Figure 3 Injury Reporter App in App Manager
Editing the Splash Page
Open the app to edit. In the project Tab, click on the Splash page, you can edit the page, or remove it.
Step 1) Click Project > Splash page > Replace the background image, if necessary, in page properties.
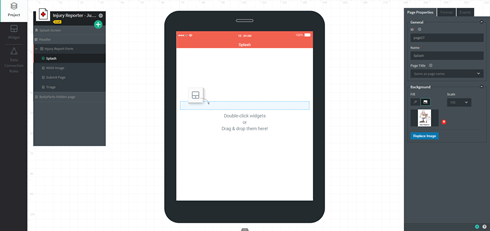
Figure 4 Navigating the Splash Page
Step 2) To remove the splash page > Hover mouse over Splash page > Click on trash can icon.
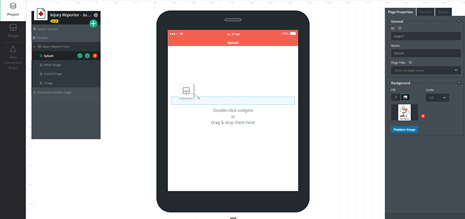
Figure 5 Removing Splash Page
Editing the Main and Submit Page
Next, we can edit the main page(s) of the app. Click on the main Page and select the widget you want to change. Use the properties window in the right to change the elements.
For example, the "employee name" can be displayed as a text in the textbox widget to allow user to understand that’s the box to fill out the injured employee name. There are other settings that you can enable such as a “Required” input field. See Figure 6.
Step 1) Select the textbox widget > Enter text in the Display Text field > Click Required.
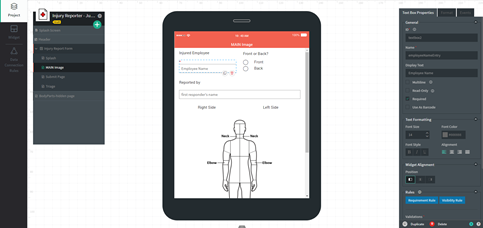
Figure 6 Creating Required Textbox
Pro tip: To enhance the visual appearance of the app, a company logo can be added to the top of the page.
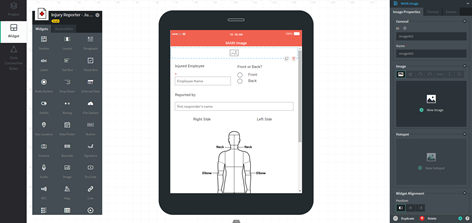
Figure 7 Adding in Image Widget for Company Logo
Step 2) Click widgets > Drag and drop the image widget to the canvas > Upload the desired company logo in the properties field.
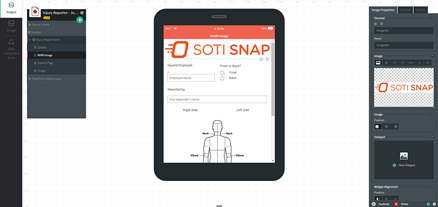
Figure 8 Inserting Company Logo
Pro tip: Similarly, other pages can be edited in the same manner.
Editing the Triage Page
The triage menu is a selection of guided tutorials on treating injuries such as scrapes and bruises; step by step on how to conduct CPR. 5 preselected videos are provided in the app for reference. To remove or add videos, refer to the following steps.
Step 1) To remove video, click on the layout which house the YouTube video > Select the “trash can” icon to delete.
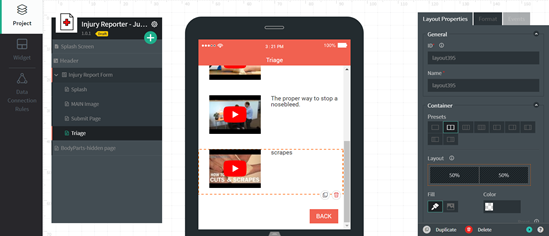
Figure 9 Deleting video in triage
Step 2) For adding video, click on the layout which house the YouTube video > Select the “copy” icon to copy the layout (left of the trash icon in Figure 9) > Edit the video using the YouTube Properties by clicking on the edit icon as shown in Figure 10 > Navigate to YouTube to get the desire URL or search for the video as shown in Figure 11.
Pro tip: You can also use CTRL+C and CTRL+V to copy and paste.
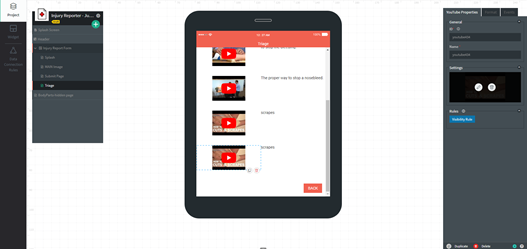
Figure 10 Copying the YouTube Video Layout
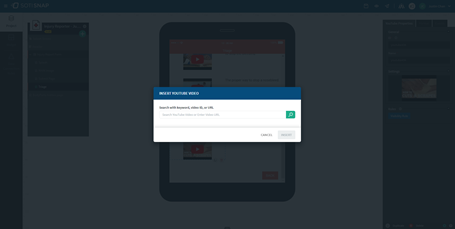
Figure 11 Inserting YouTube URL
Step 3) Click on the paragraph widget > Edit display text to better describe the video.
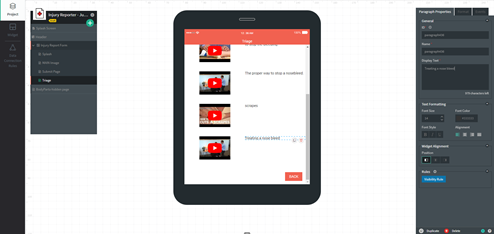
Figure 12 Editing the Description for the Triage Video
Step 4) Re-Publish the app with the publish icon in the top right.
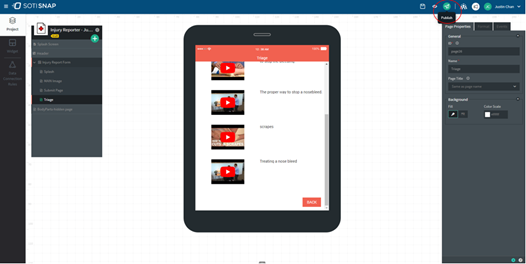
Figure 13 Re-Publish the App
Step 5) On device > Launch Snap > Swipe down on the main page to install/refresh the apps.
Preview of the Injury Report App
This preview demonstrates how to use the injury reporting app.
1) Enter the fields for the injured employee and other info.

Figure 14 Filling in the preliminary fields
2) Click on the injured body part, see Figure 15.
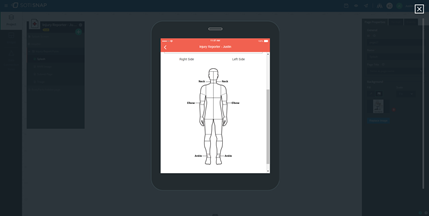
Figure 15 Selecting Injured Body Parts
3) For smaller regions, you can click on the body part’s name as well. On the next page, you can provide additional information in the injury notes and add in pictures using the camera.
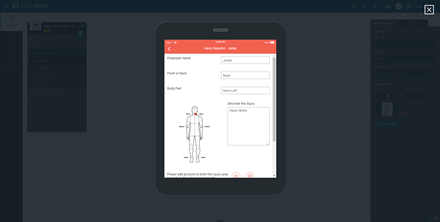
Figure 16 Illustrating the injury
4) Click the “Simple Triage” button to watch videos.
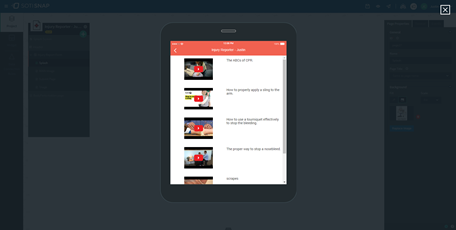
Figure 17 Navigating the simple triage page
5) Click Submit to save the data when done
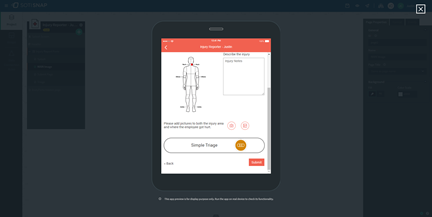
Figure 18 Submitting the form
Was this helpful?
Thanks for your feedback